Hi!
I got tired of building the same bases for my Black Templars over and over again, so I decided to make a mold and cast them. My first try was pretty simple, but I think it shows the process quite well.
You need:
- Your custom made master bases
- 2-component silicon
- Good quality resin
- A sharp hobby knife
- A suitable container for pouring
- Mixing pots (I use plastic liqour cups - cheap and great)
- Some toothpicks for mixing
1) Place the bases bottom-down in your container. Make sure it's not to big, so you don't waste too much silicon. Use a little blue-tac/pattafix or glue to fix them to the bottom. If you don't they might start swimming afterwards. ;)
2) Mix your silcion according to the products instructions (most likely 50/50). I use 2 plastic cups to fill in the components and pour them in a third one. Mix well, but not to fast to avoid air bubbles. Then pour the stuff over your bases. Pour in a corner of the container and let it flow around the bases. Don't put it directly over it, because you'd get more air bubbles.
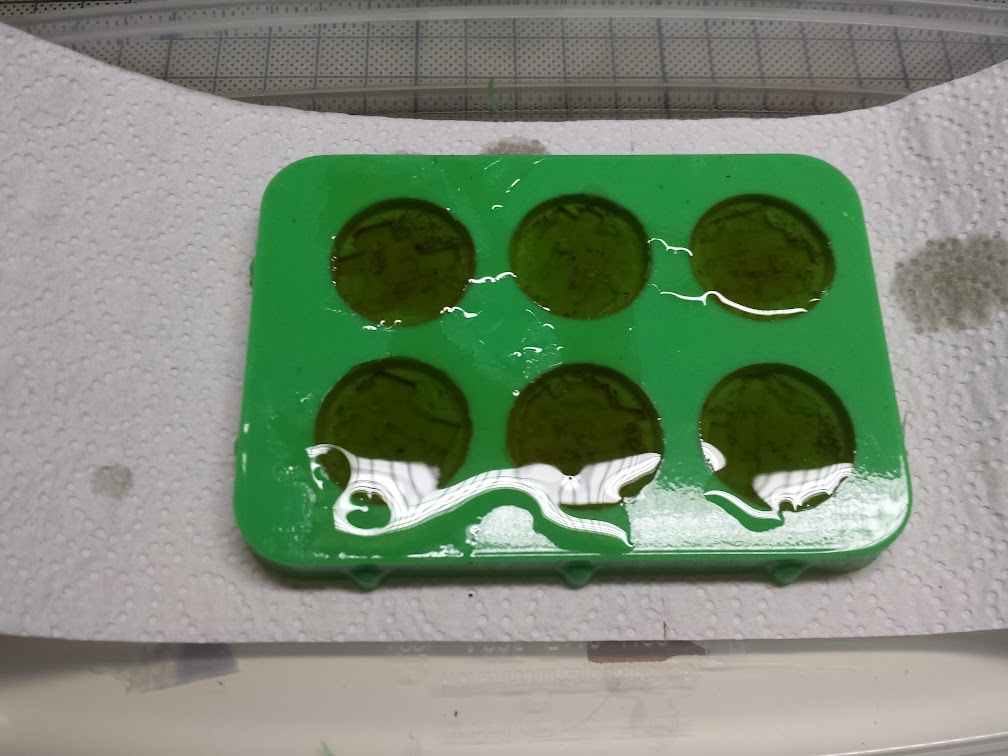
3) Make sure the mold has hardened completely. When you take it out of the container it will look something like above.
4) Cut out the excess with a hobbyknife. Make sure you do this step as clean as possible.
5) Mix your resin according to the instructions. Mine is 50/50 again. I use 3 cups as shown above. 2 for the components and a third one for mixing. Make sure everything you need is in place before you start mixing. You only have a few minutes, depending on what product you use.
6) Gently pour the resin into the mold. I overfilled them a bit, because I thougt it might reduce a little while hardening, but it didn't. Just make sure the mold is well filled and try to eliminate any air bubbles with a toothpick. Since this is a a one part mold and the surface is pretty big, air bubbles can escape pretty good, so this shouldn't be much of an issue here.
8) I removed the flash and sanded them afterwards. Use some sandpaper to make the bottom side even because they will be a little rounded after casting.
9) The finished bases
I hope you enjoyed the article and are eager to create your own resin bases. ;)
For my next article I'll try something more complex.
Kind regards,
Androsch


No comments:
Post a Comment