Showing posts with label Tutorial. Show all posts

January 13, 2014

Tutorial: Casting your own Resin Bases

posted by Androsch

Hi!

I got tired of building the same bases for my Black Templars over and over again, so I decided to make a mold and cast them. My first try was pretty simple, but I think it shows the process quite well.

You need:

  • Your custom made master bases 
  • 2-component silicon 
  • Good quality resin 
  • A sharp hobby knife 
  • A suitable container for pouring 
  • Mixing pots (I use plastic liqour cups - cheap and great) 
  • Some toothpicks for mixing 


1) Place the bases bottom-down in your container. Make sure it's not to big, so you don't waste too much silicon. Use a little blue-tac/pattafix or glue to fix them to the bottom. If you don't they might start swimming afterwards. ;)


2) Mix your silcion according to the products instructions (most likely 50/50). I use 2 plastic cups to fill in the components and pour them in a third one. Mix well, but not to fast to avoid air bubbles. Then pour the stuff over your bases. Pour in a corner of the container and let it flow around the bases. Don't put it directly over it, because you'd get more air bubbles.


3) Make sure the mold has hardened completely.  When you take it out of the container it will look something like above.


4) Cut out the excess with a hobbyknife. Make sure you do this step as clean as possible.


5) Mix your resin according to the instructions. Mine is 50/50 again. I use 3 cups as shown above. 2 for the components and a third one for mixing. Make sure everything you need is in place before you start mixing. You only have a few minutes, depending on what product you use.
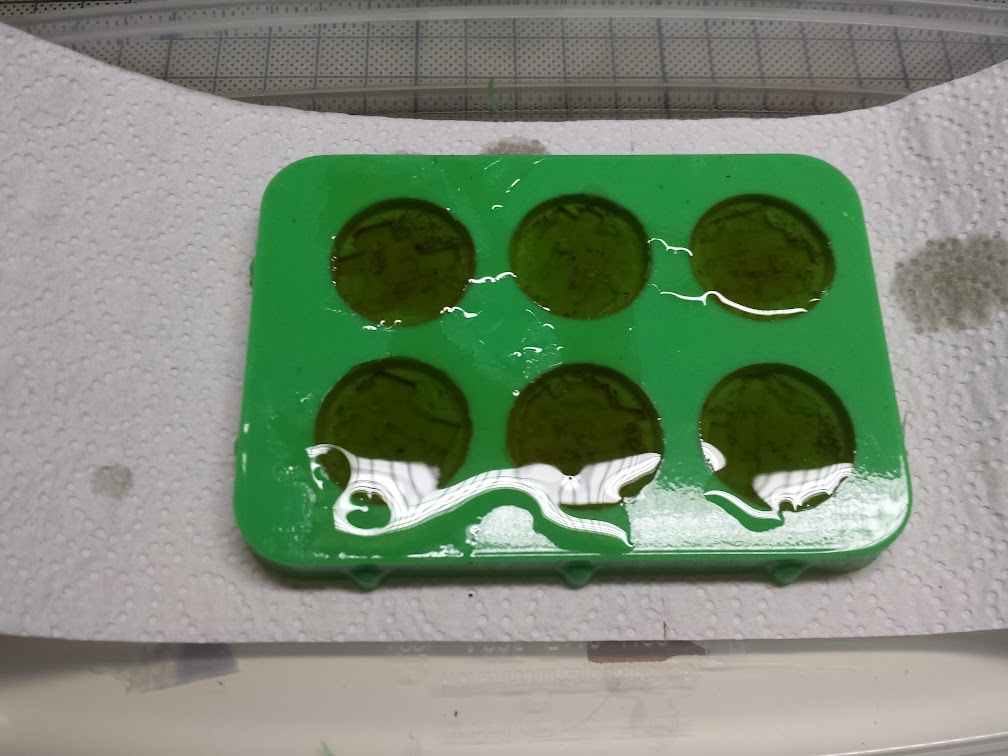

6) Gently pour the resin into the mold. I overfilled them a bit, because I thougt it might reduce a little while hardening, but it didn't. Just make sure the mold is well filled and try to eliminate any air bubbles with a toothpick. Since this is a a one part mold and the surface is pretty big, air bubbles can escape pretty good, so this shouldn't be much of an issue here.


7) After they've cured, I removed the bases from the mold.


8) I removed the flash and sanded them afterwards. Use some sandpaper to make the bottom side even because they will be a little rounded after casting.


9) The finished bases

I hope you enjoyed the article and are eager to create your own resin bases. ;)
For my next article I'll try something more complex.

Kind regards,
Androsch

October 03, 2013

Some fun with Photoshop (with Tutorial!)

posted by Androsch

Hi!

I tried some recently acquired Photoshop skills on some miniature pictures. I wanted to extract them from the background and did some general adjustments.

First one, Legolas:

new
old
In this case the adjustments turned out quite nicely. But I noticed I should have used a longer exposure, because their was a lot of noise in the original image (or maybe I just had a bad ISO setting.)

Second, Morgaines Huntress:

new (check last post for original)
Here I used Morgaines jpeg image. This is generally a bad idea, because every time you save as jpeg, you loose quality. Nevertheless I think Morgaine already used too much jpeg compression on the image. There are a lot of jpeg artifacts in it. The adjustments brought out the colours, but also increased the noise. I'd like to do that again on the final images. This is an exciting figure after all!

Here's a short tutorial for extracting images:

I used the hard way in this example, there are fancier extraction tools in photoshop, but this method is very exact. (I have a German version btw, so sorry for the expressions)

Use this tool in path mode (in German it's cald "Zeichenstift-Werkzeug"):


This should be on the right hand side of your screen.


zoom in and click your way around the border of the model. you can use SPACE + LEFT MOUSE to scroll.

Take your time here. ;)


With your last click, you must close the path. Now there's a marking around your selection:


Now right click and chose "generate selection". In german it's "Auswahl erstellen".

The next step might be the most important. Before you copy your selction you have to do a soft selection border or the picture will look flat. In German it's "Weiche Auswahl Kante". You can find it here (Maybe in English: Selection -> Improve Border):

Next, set your soft border. The right setting depends on the resolution of the image, but 2px is a good start.
You can set the colour of your background for a preview too. One more tip: If you want a black background in the end, use a dark background for your photograph! Otherwise you'll get a silly halo.


Click OK and cut or copy your selection and paste it into a new file (there's many way form here, but I like to do it like that). Your selection is a new layer now. Choose the background layer and make it black with the filling tool on the left.


Now you can use more filter and effect, crop the image and so on. But I'll talk about this some other time.
Oh, here's the final image by the way... ;)

(I did an unsharpen mask and rezised it to 600px wide)

Hope this was interesting for you,
see you next time!

Androsch


October 31, 2012

Tutorial - How to quickly make a banner from transparent foil


Hi there!

I'm painting an imperial standard-bearer at the moment for whom I decided to make a new banner, 'cause I wanted something more dynamic than the standard GW banners. Well, I got a tip to try transparent foil (I'm not sure if that's the right expression, it's the stuff on which you write and project it to the wall then ;)) and it turned out pretty good. I was wise enough to shot some photos in the process to be able to do this tutorial! :)
Ok let's start!

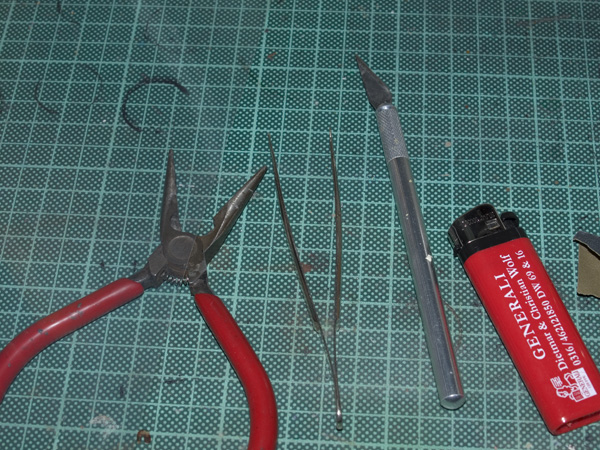
1) The tools you need: a caliper, a knife, tweezers and a cigarette lighter


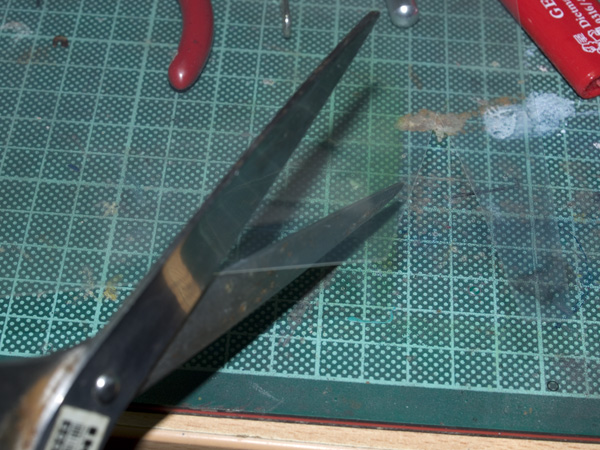
2) Cut the transparent foil into a shape you like. I chose a triangular one.


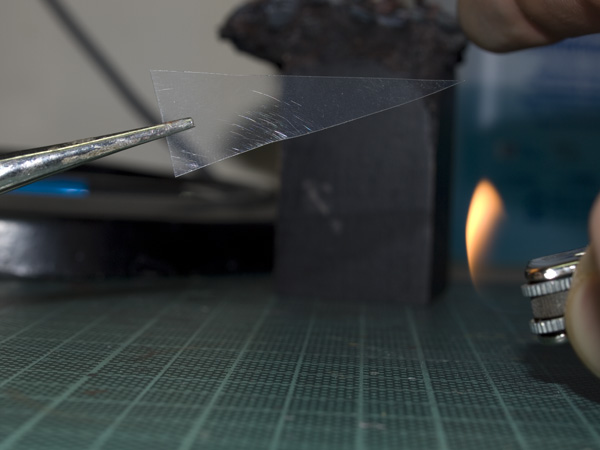
3) Now the tricky part. Heat up the plastic with the cigarette lighter. Don't get to close  to it, you don't want to melt it. When you have the right distance it will start to bend  after some time. It usually bends to the side where the heat comes from. Play with that to get the desired shape. You can use the tweezers here too, but you have to be quick! ;)


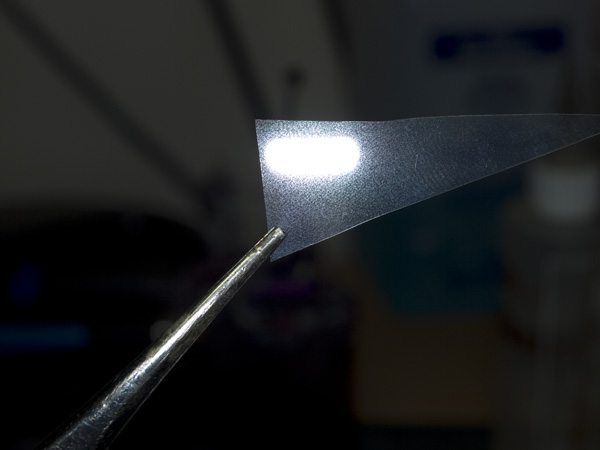
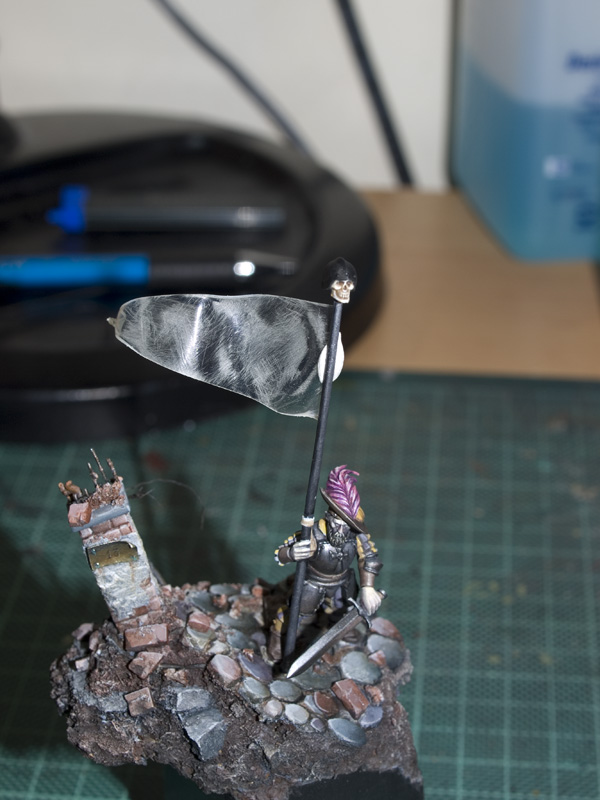
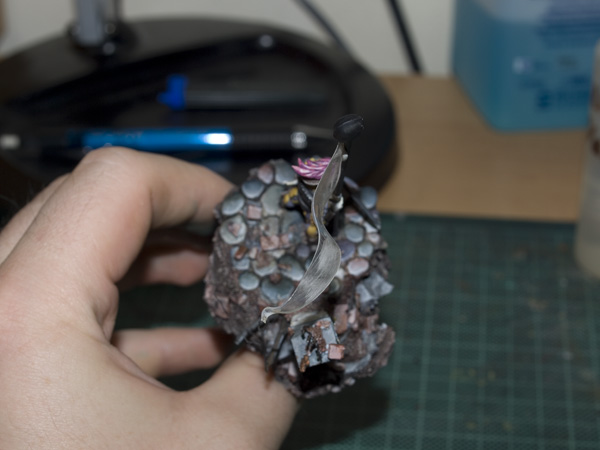
4) You should end up with something like this... (I already sanded it a bit here)


5) Attach it to the bannerpole. I used some pattafix here to try some angles before glueing it.


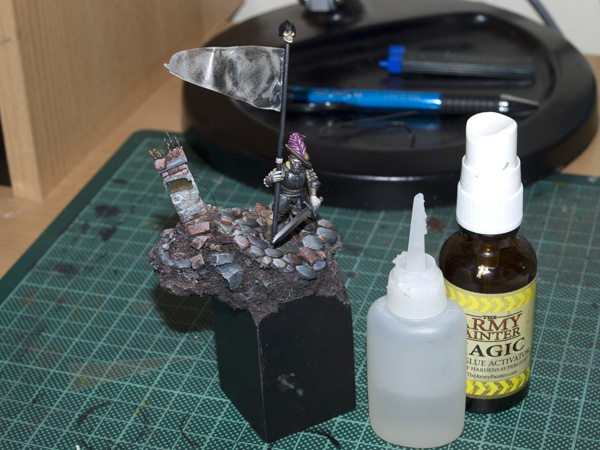
6) Then glue it on there forever. Superglue activator is really usefull here.


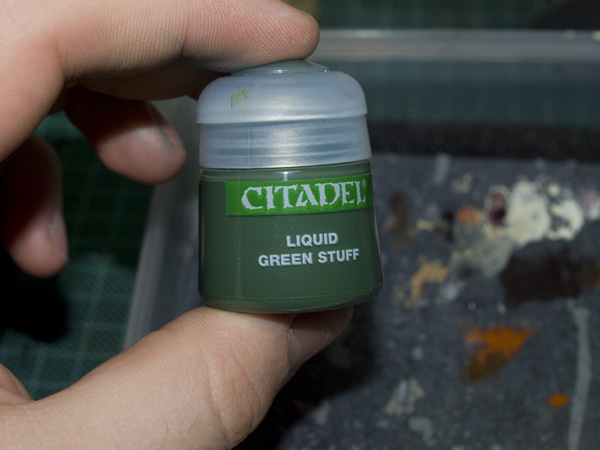
7) You may use some Liguid Green Stuff or some other putty you like to make the transition to the pole more convincing. I also gave it a thin coat to make the plastic a bit stiffer, but it didn't work. Maybe Milliput or Magic Sculpt would have worked better for that.


8) And that what it looks like after airbrushing...


The whole thing didn't take more then half an our to finish (even with taking photos in between).

So that's it. I hope I was able to give you some inspiration for future banners! ;)

Regards,
Androsch

Tutorial - Ork Skin


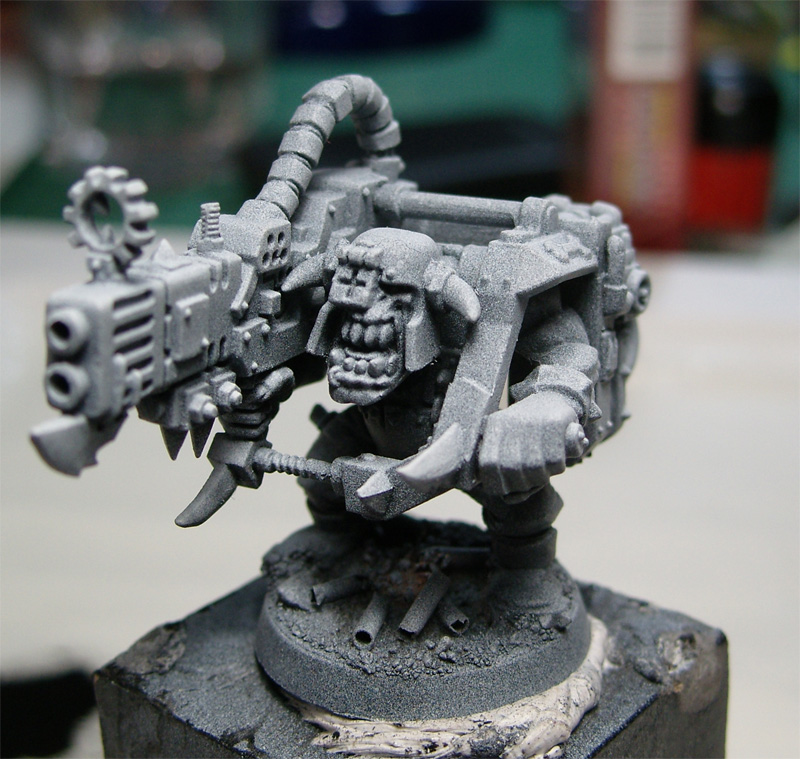
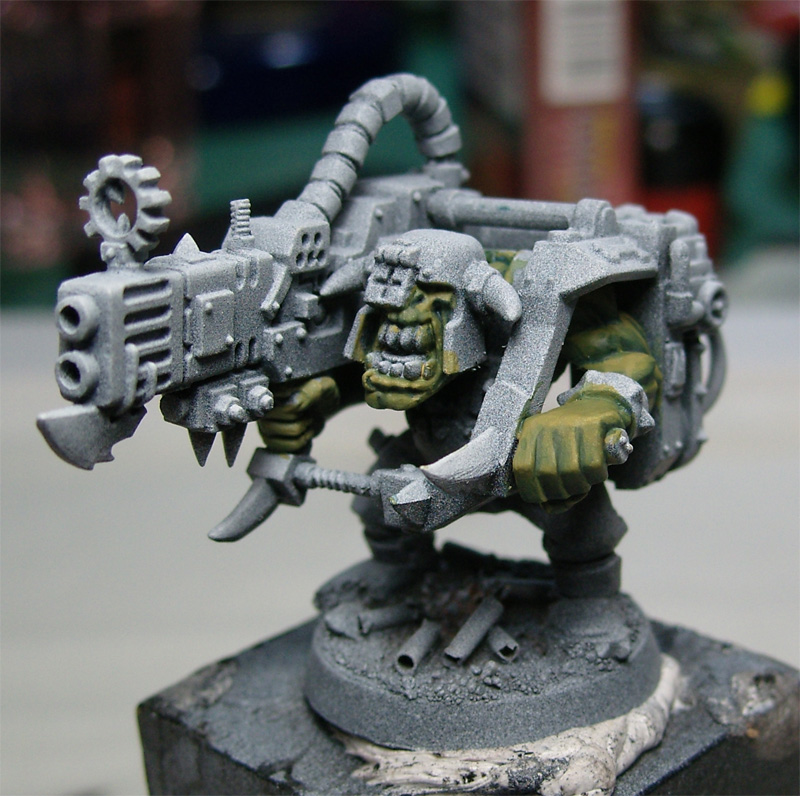
Okay then, here's the first step-by-step for the ork skin I'm doing:


2 component priming, nothing special so far. ;)

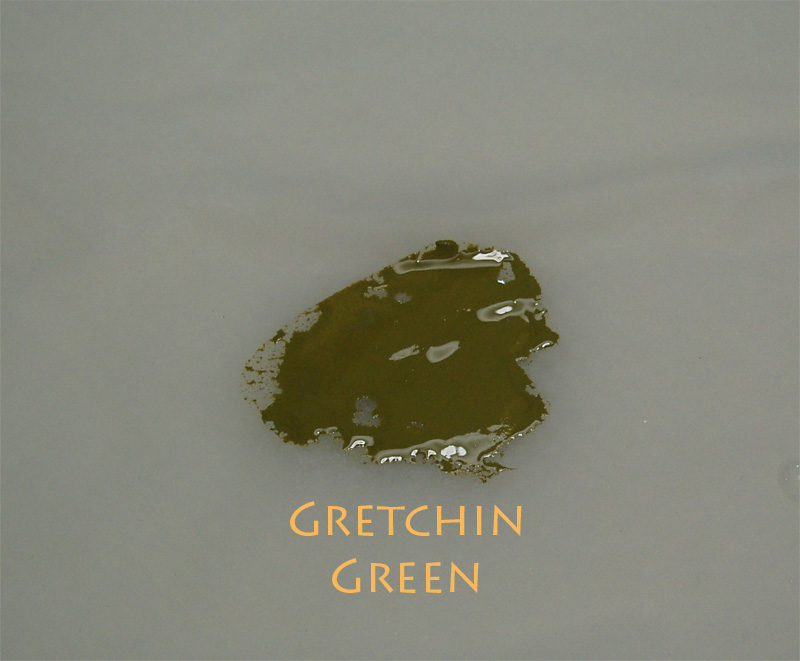
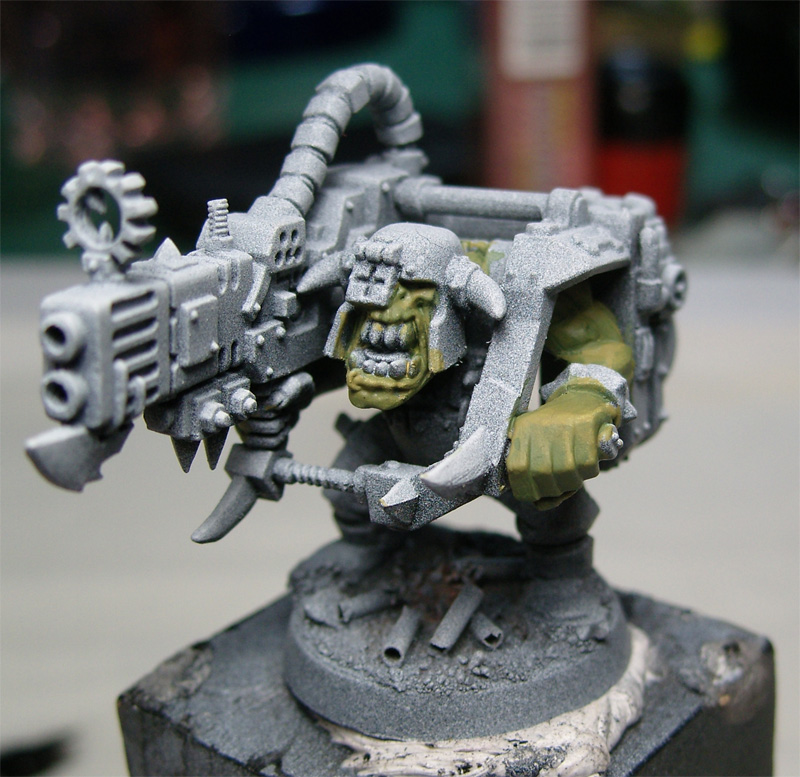
Basecoat Gretching Green 1:2 Paint:Water


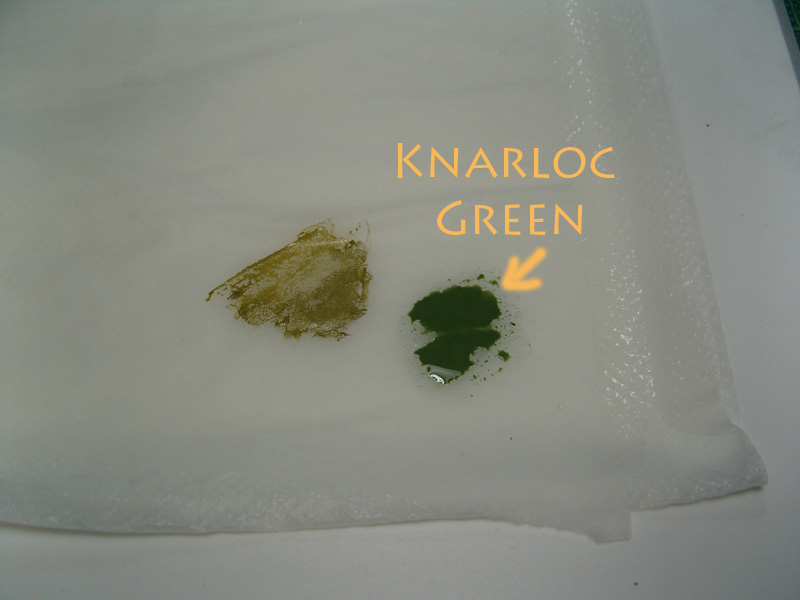
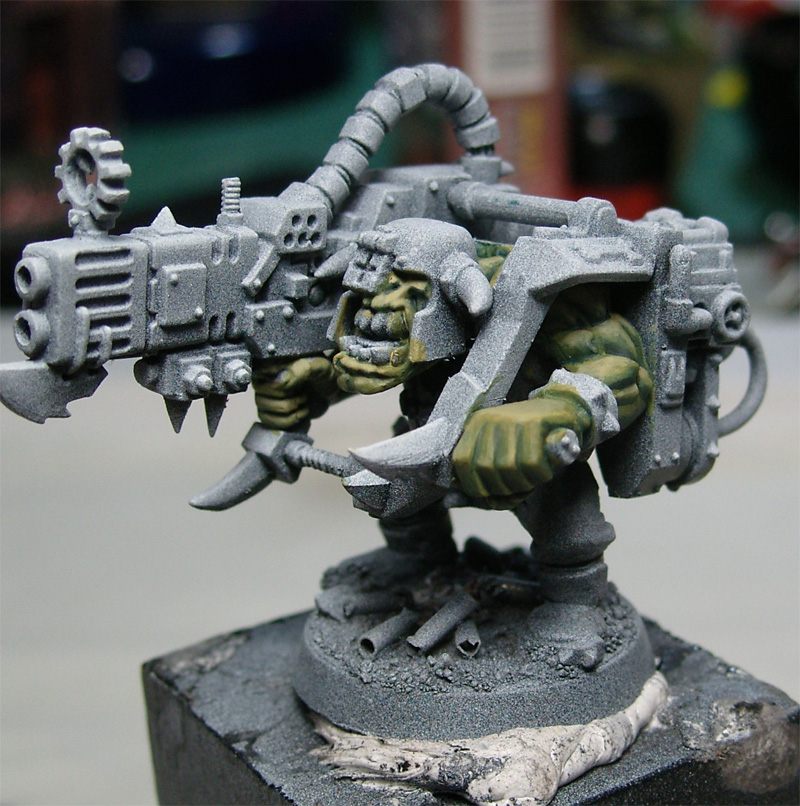
1st shadow Knarloc Green, 1:4 paint:water


2nd shadow Dark Sea Blue (you can use Hawk Turqouise with Black instead)

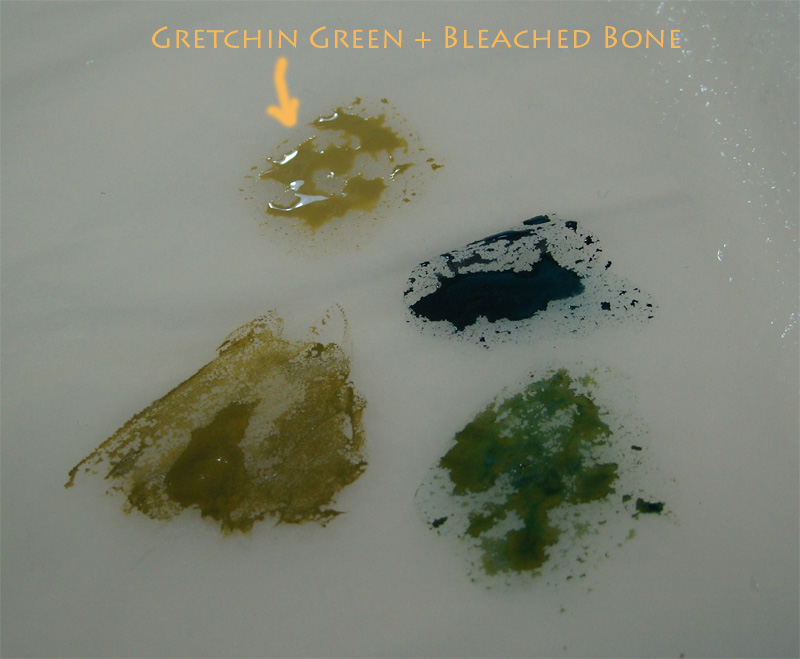
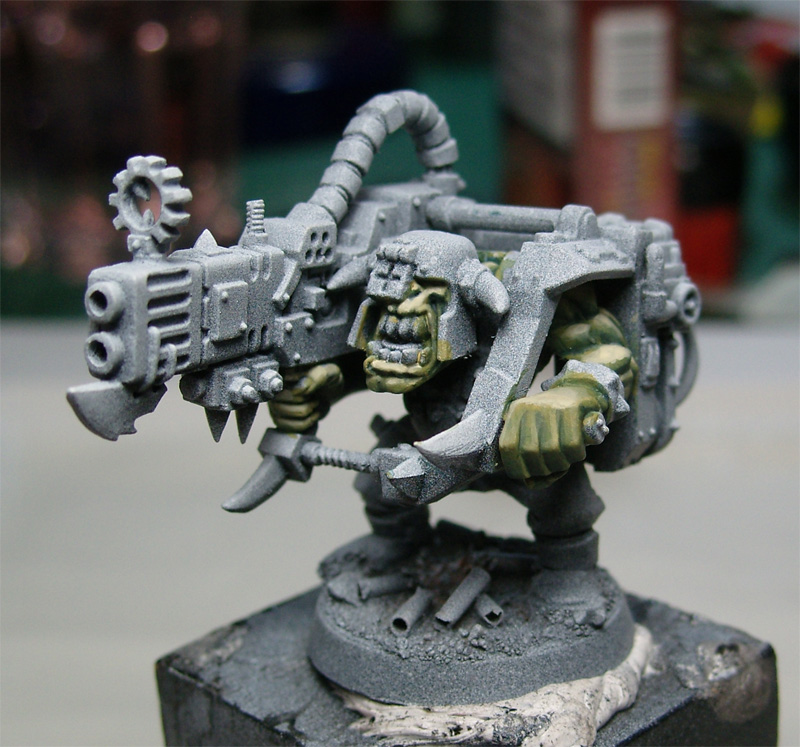
1st Highlight Gretchin Green + Bleached Bone

Pure Bleached Bone for the second Highlight.


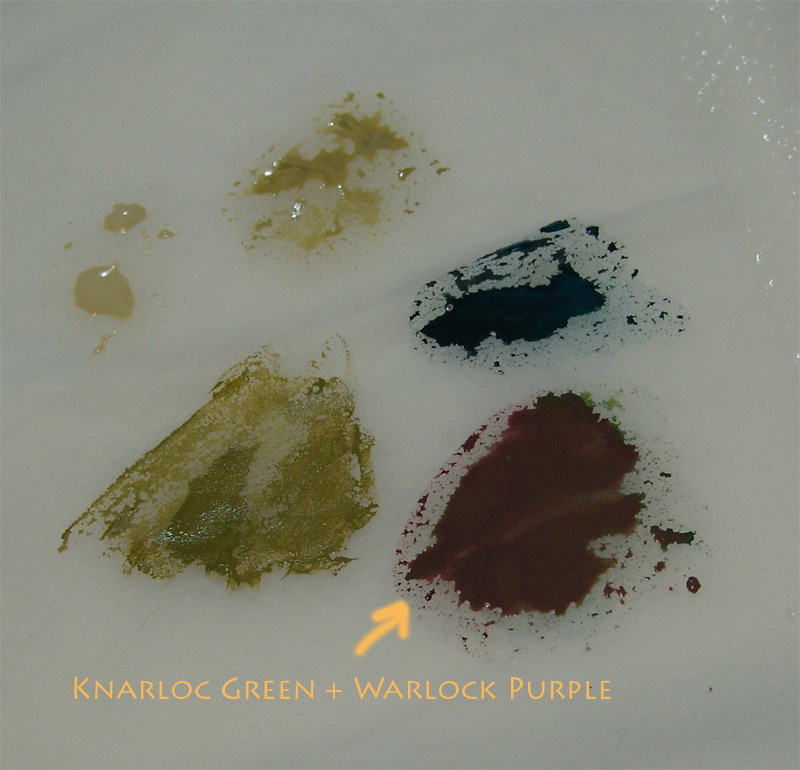
Now I did a glaze with a mix of Knarloc Green + Warlock Purple to bring some life to the skin. (Sorry, forgot to shoot a picture here)


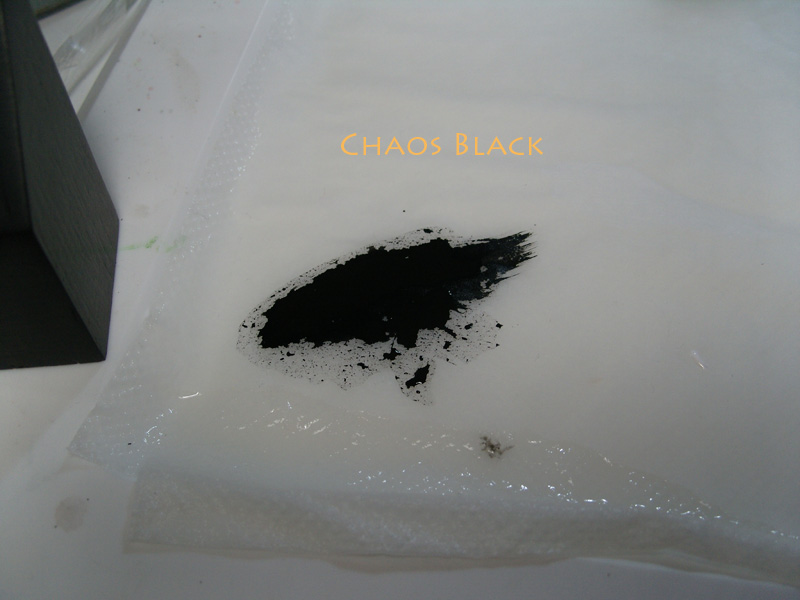
Some Chaos Black for the deepest shadows and the darklining.

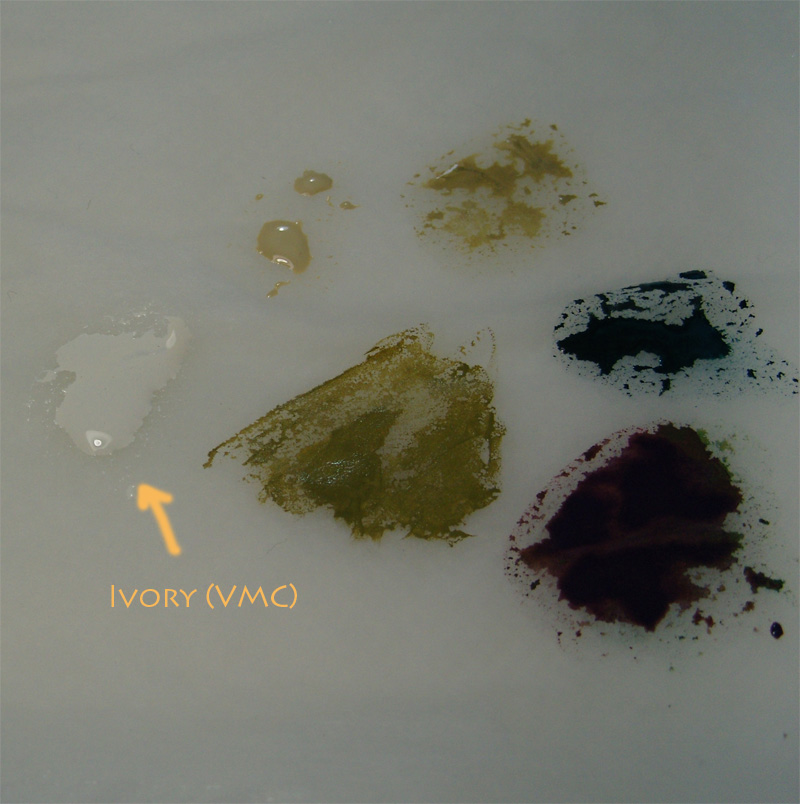
For the last step I used some Ivory to paint some very bright higlights (especially in the face).


That's it for the skin, Weathering tutorial will follow soon!

Cheers, Androsch